How to Make a Twig Number Sign
This rustic plaque is a perfect way to identify your pack or troop’s unit number.

WHAT YOU’LL NEED
- Solid dry sticks about 3⁄4″ in diameter
- Pocketknife for removing bark
- Coping saw
- 1″ x 6″ x 12″ pine board (This is the backboard that the numbers will be glued and nailed to.)
- Two 1″ x 2″ x 13 1⁄2″ pine boards
- Two 1″ x 2″ x 5 1⁄2″ pine boards
- Exterior caulking
- Paper
- Pencil
- Enough sixpenny galvanized-finish nails to secure the numbers to the framed backboard
- Sandpaper
- Drill and counter-sink bit for pilot holes
- Drill bit (to predrill each nail hole)
- Nail punch (to recess each nail)
- 14 1 1⁄4″ exterior wood screws
- Tape measure
- Wood glue
- Wood putty
- Paint, stain or other weatherproof wood finish of your choice
WHAT YOU’LL DO
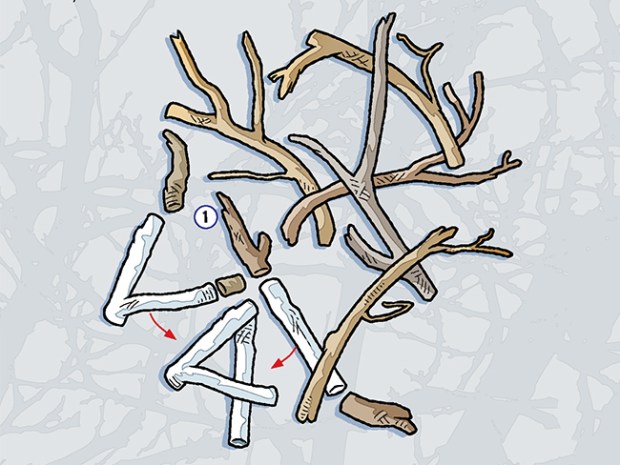
Step 1. Collect sticks and lay them separately on the ground. Write your house or unit number on a piece of paper to use as a guide. Look closely at the sticks and choose pieces that could become a part of a number.
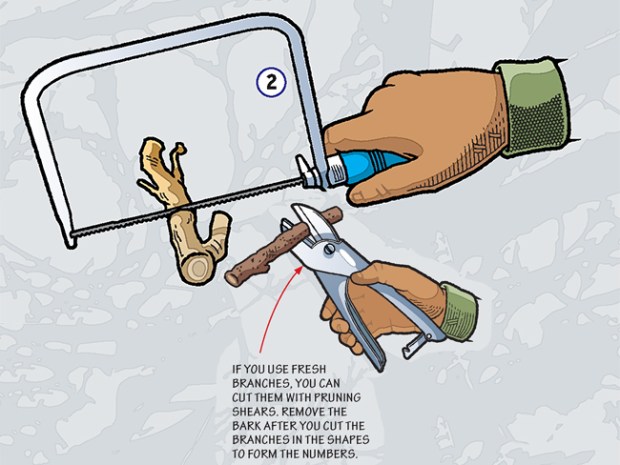
Step 2. Use the coping saw to cut out the parts you have selected. Use the pocketknife to remove bark. Each number should be about 4″ tall.
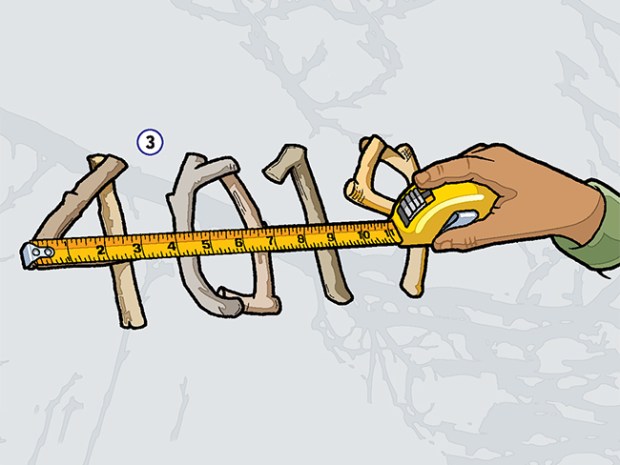
Step 3. When all the numbers are cut and complete, lay them out on the ground. Once you are satisfied with the look and spacing of the numbers, measure the length of the assembled numbers.
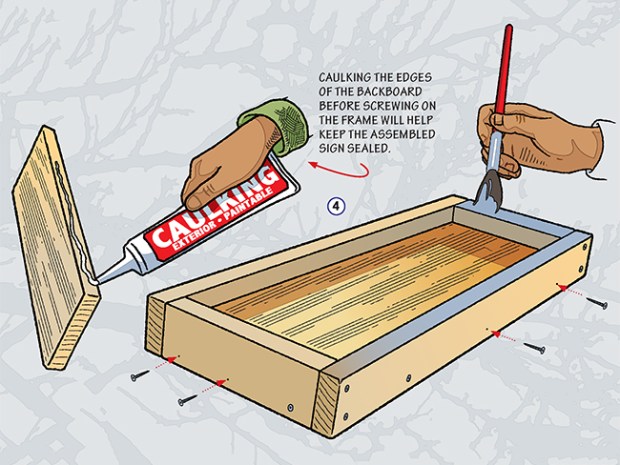
Step 4. Cut the 1″ x 6″ backboard 1 1⁄2″ longer than the length of the assembled numbers. Cut out the frame boards. (The length of the framed backboard can be longer or shorter, depending on how many numbers you have.)
Caulk all the edges of the 1″ x 6″ backboard and screw the frame in place. Fill the screw holes with wood putty.
Sand the shallow box and paint or stain it a color of your choice.

Step 5. Sand all the number pieces. Lay them into the assembled frame and backboard. Where the number parts touch the backboard, sand a flat area so the number twigs will make good contact with the backboard.
Drill pilot holes for each nail, and glue and nail the numbers in place. Use the nail punch to countersink the nails slightly below the surface of each number.
Fill the recessed nail holes with wood putty, and sand the filled holes when the putty is dry. Carefully paint or stain the numbers with a color that provides contrast to the framed backboard so the numbers are easy to read. Your sign project is complete.
Leave a Comment