How to buy and use a trail camera
What’s walking around out there in the dark while you’re asleep in your tent? Or visiting camp while you’re off hiking? What’s raiding your dog’s chow in the backyard?
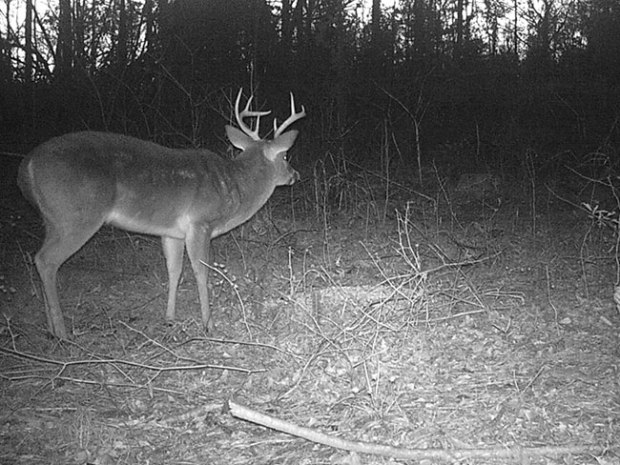
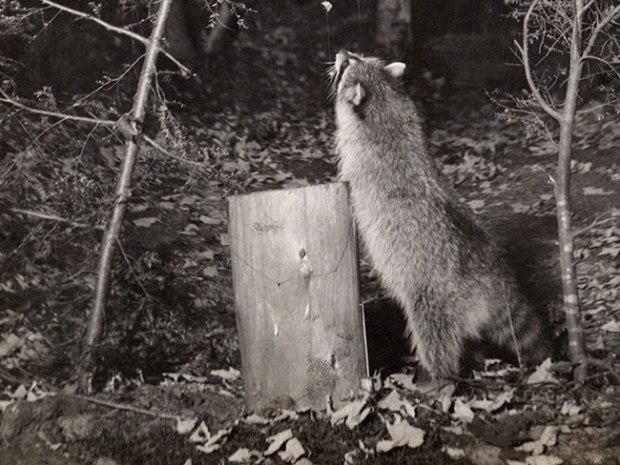
Find out by mounting a motion-triggered trail camera on a tree or post, and set it to automatically take photos or video of anything that moves. With a flash, you’ll even be able to capture nighttime action.
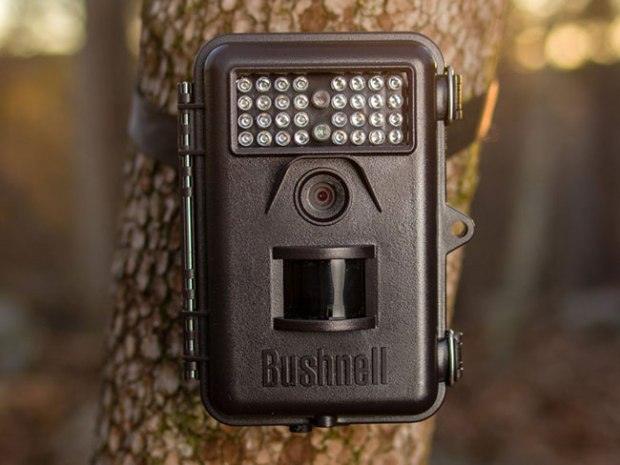
Trail cams (also known as game cameras) are smaller and more powerful than ever, with decent starter models selling for between $70 and $125. If you can’t afford one, maybe your Scout unit can get one to share. Here are some tips on buying and using a trail cam.
TRAIL CAMERA BUYING TIPS
First, check reviews to learn what others are saying about different cams. Then shop around for the best price. Look for:
FAST TRIGGER SPEED. You want no more than a 1-second lag between when the camera first picks up an animal’s heat and motion and when it takes the photo.
HIGH RESOLUTION (more megapixels) for crisper, clearer photos. Usually, a 6 MP (megapixel) camera takes better photos than a 4 MP one, but it costs more. (A good lens is also important for quality photos.)
A WELL-CAMOUFLAGED EXTERIOR that’s less likely to be seen or stolen.
A LONGER WARRANTY to protect your investment. You want a cam that won’t break down. Since they’re left outside, trail cams have to be tough. A longer warranty means the manufacturer stands behind a better-built product.
LONG BATTERY LIFE. This varies by brand, so compare different companies’ specifications. Beware of low-cost cams with a short battery life that could end up costing you more in the long run. (Remember that video gulps battery power.)
THE LARGEST DETECTION ZONE in your price range. Specs tell you in how wide of an area and how far out from the camera an animal will trigger a photo. Lower-end cameras might reach out only 50 feet, while higher-end cameras can “see” 85 feet or more.
AN LCD VISUAL DISPLAY so you can look at your photos right away without removing the memory card.
FLASH. You’ll have to choose between infrared versus incandescent or LED lighting. Infrared is invisible, so it won’t spook animals with a bright flash, but it can take only black-and-white photos that can be grainy. It’s up to you: sharp color nighttime photos or no visible flash.
TRAIL CAMERA USAGE TIPS
• Place your cam about 8 feet high for a better view and theft-proofing.
• Point the lens as northfacing as possible to avoid sun in the lens.
• Set it up where animals might hesitate, like a creek crossing.
• Attach it to a tree or post with baling wire — it’s almost invisible. Secure the cam so it will stay put even when squirrels gnaw on it (really!).
• Engrave your name and contact info all over the camera.
Important Note: Please only upload photos of animals. Because of privacy rules, we can’t post any photos that show people’s faces. Always ask for your parent’s permission before uploading anything to a website.
Swag money