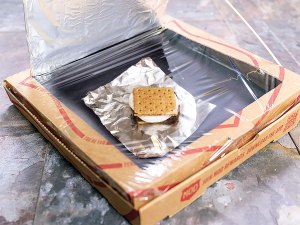
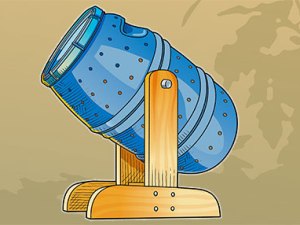
How to Make a Solar-Powered Oven for Outdoor Cooking
Take outdoor cooking to the next level with this homemade solar cooker.
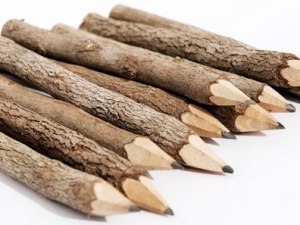
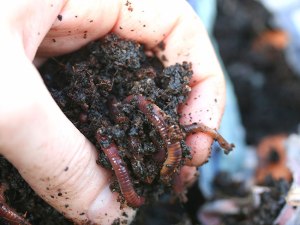

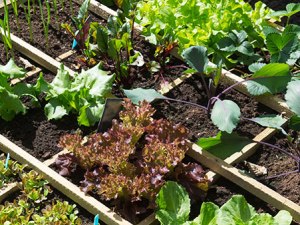
 Here's how to tumble your way to rich compost for your garden and plants.
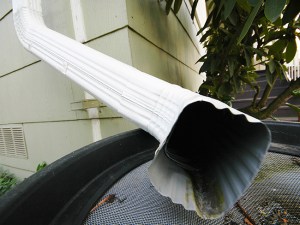

 Conservation and responsible outdoorsmanship is a huge part of being a Scout. Here are some of the things that Boyslife.org readers have told us they are doing or plan to do to GO GREEN!
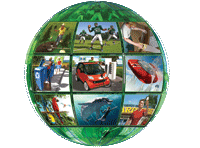
 Welcome to the green, Earth-friendly community of the future. For the past seven months, we have told you how to Go Green! Here's what our world might look like once we have all gone green. Imagine the possibilities.
 Feeling a little warm lately? The 10 hottest years in recorded history have occurred since 1991. 2005 topped the charts. And animals are feeling the heat.
 The sports world is playing a more Earth-friendly game.
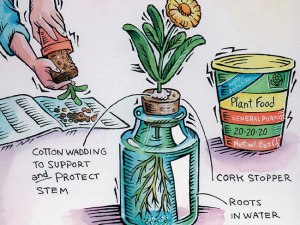
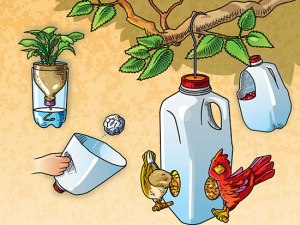
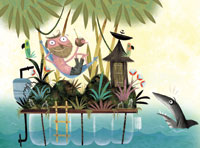 Wait! Don't just throw that bottle in the recycling bin. You could use it to build your own private island. Across the globe, people are coming up with remarkable -- and sometimes zany -- new ways to help our environment. Here are some of our favorites.
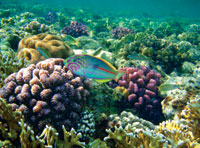 Mouth-watering seafood. Beach and water adventure. A convenient, vast waste dump. Oceans have provided us many things over the centuries, but we are pushing them beyond their limits. Here’s a look at what’s going on in our oceans and how you can help.
 Get a grip on what it means to go green. Get the basics on what's going on with the environment.
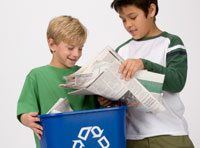 We are all part of the problem. Here are some easy things you can do to be a part of the solution.
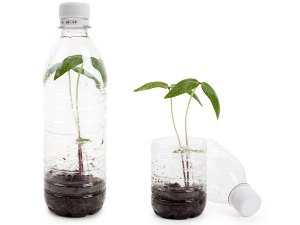
© 2024, Boy Scouts of America. All rights reserved. | Proudly powered by WordPress | Theme: MH Magazine by MH Themes.
© 2024, Boy Scouts of America. All rights reserved. | Powered by WordPress VIP