How to Paint a Pinewood Derby Car to Give It a Glossy Finish
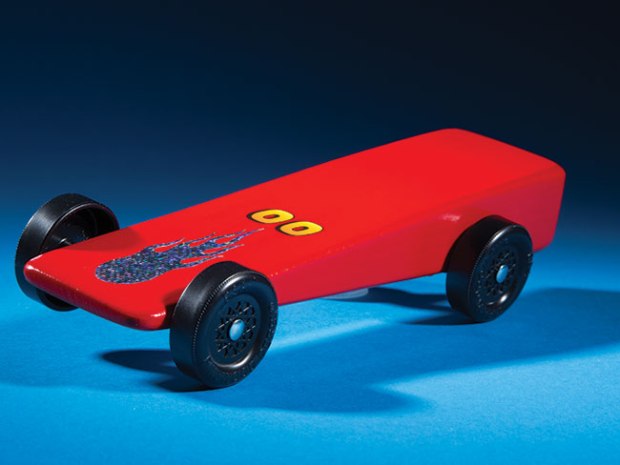
Sandpaper and paint can turn a block of wood into a sleek Pinewood Derby racer that looks as smooth as steel. The trick is using the right materials and allowing plenty of time.
Don’t wait until the last minute! For best results, you’ll need to start at least a week or two before the race. You’ll also need help from a trusted adult.
WHAT YOU’LL NEED TO PAINT A PINEWOOD DERBY CAR
- Coarse, medium and fine-grit sandpaper
- Liquid sanding sealer (sold at hobby shops)
- Enamel paint
- Decals or self-stick numbers (sold at stationery stores or hobby shops)
- Clear gloss paint
- Floor wax paste
WHAT YOU’LL DO TO PAINT A PINEWOOD DERBY CAR
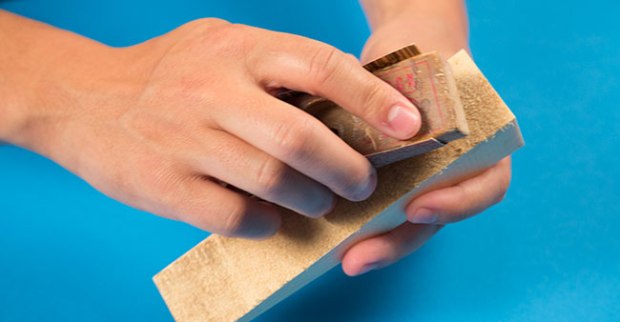
Step 1: Begin by wrapping sandpaper around a block of wood 1 inch by 3 inches. Without a block of wood for support, sandpaper can leave dips and gullies in the Pinewood Derby car’s body.
Round the corners of the pinewood block with coarse sandpaper. Change to medium-grit paper for smoothing rough edges. Finish with fine sandpaper to remove any sanding marks.
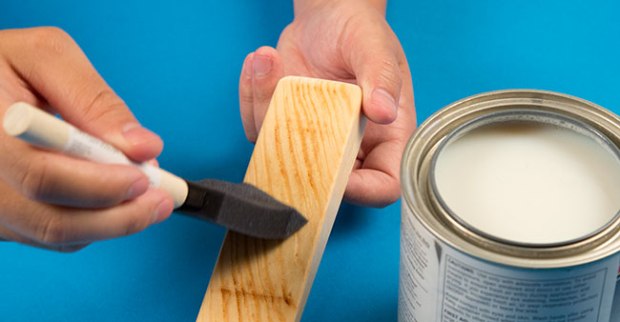
Step 2: Just painting the pinewood won’t hide the wood’s grain. Apply two coats of liquid sanding sealer. Let the sealer dry overnight before sanding it lightly with fine-grit paper.
If the grain still shows, apply two more coats of sealer. Let it dry overnight and sand again. Repeat the process until the grain disappears.
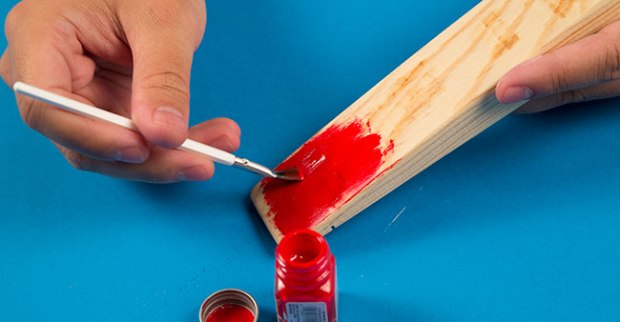
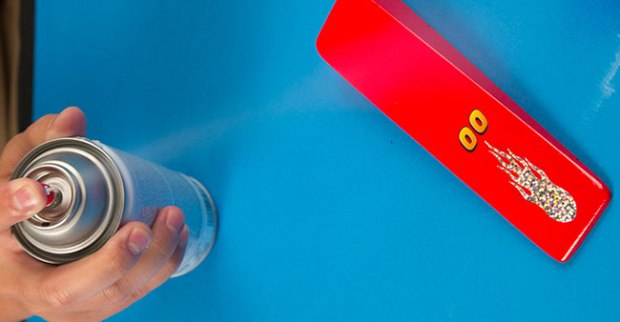
Step 3: Choose a color for your Pinewood Derby car. Then apply two to three coats of enamel paint to the car’s body. Spraying the model with paint from an aerosol can is easier than using a brush.
If you use a brush, dip only the lower third of the brush into the paint. Use single, smooth strokes instead of dabbing the paint on the car. Blend the strokes so they can’t be seen.
Step 4: Place a race number on the Pinewood Derby car. Seal and protect it by spraying the entire car with clear gloss paint. Some clear paints might make the numbers curl. To make sure yours works, test it on a decal or number stuck to scrap plastic before spraying your car.
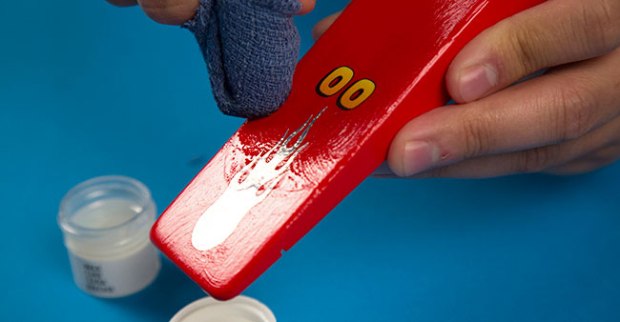
Step 5: Let the clear paint dry for at least a week. Then cover the Pinewood Derby car with floor wax paste and polish to a high gloss. The wax will protect the car and help give your racer the look of shining steel.
JUST DO YOUR BEST
This project requires help from an adult and lots of time and patience.
Instead, you can always just paint your Pinewood Derby car with one layer of paint from your local hobby store. It takes only a few minutes, and it still looks great.
The important thing is to have fun and do your best.
I put together a car with my dad once when I was young. My kiddos got cars from Awana to do. I’m tying to figure out how to do it without spending too much time or spending unnecessary money on it. There are many tools to help tune and build these cheep kits with. Sometimes its good to stick to the basics and remember have fun with it.
cool!
I think you should add i little extra weight
your good i wish i could do that.
Several coats of Krylon brand spray paint (in a gloss finish) over primer will give the same results (in the article) without the clear coat or the wax. Krylon is also good because it dries to the touch in about ten minutes, and can be handled safely in about an hour. This allows procrastinators (like me) to apply 2-3 coats of paint in one day, with professional-looking results!
I would also like to add that some light sanding with a fine to very fine grit sandpaper in between coats of primer and between coats of paint will create a very smooth looking finish to your paint job!
Guys, using modeling paint in a spray can over a primer and a couple coats of gloss do this without the waxing. In fact, that’s what I did from the 80’s to the 00’s using a hint from boys life about making a spray box, taking a block and putting nails level in it to set the car on so the paint covers the entire car and painting then waiting a few days in between each coat of primer, paint, and gloss.
How many ~oz. will this paint job add to your car
From my experience, the paint does not add THAT much in weight. However, I ensured my car was about 4.5 oz before I painted it. I placed all the pieces of the car with the weight on a scale and checked it. This will allow for the weight of the wood glue after cuts for weights and for the paint. My car was exactly 5 oz, my son did kind of the same thing and ended up at 4.8 oz.
awesome I love it
Thanks a million! This was helpful.
Although it might seem obvious to some-we do all of the painting and sealing before putting on the wheels and axels. Otherwise you risk gunking up both.
As a single mom, I can say THANK YOU, this really helped me out
cool ::)
we didnt need em it was so easy
I am a single mom, and this is our first pinewood derby. I have no idea how to even start, so this is very helpful!
singlemom,
There is nothing wrong with asking one of the other parents in the Den or Troop for help. We can’t learn if we are not taught and that is part of what Scouting is about.
good I love it
I so agree with you
Some boys don’t have a role model to show them this stuff, so braedenre10, no not everyone knows these steps. I’m happy to read this post as a dad!
1st place
i think these r gr8 ideas
Cool I like the ideas
that makes it nice
whut if you dont have sand paper
u can use a nail file
Cool
great idea
I value the advice. Thanks alot.
After the first smooth sanding, wipe the block with a damp cloth to raise the grain and then sand again.
A smoother finish may be had by sanding in the direction of the wood’s grain, instead of against the grain.
how can i make my car faster
Good point about sanding with the grain. I think that a lot of people would assume that people already know this, but depending on how much woodworking someone has had, they might not. I learned it myself when I was 11 in Orioles. But no one ever told my husband. If I hadn’t known then our boys wouldn’t have known. It’s like cutting meat “across the grain” to make more tender cuts of meat. It seems obvious, but unless you’ve been told then you don’t know it.
good idea.
Any advice is nice! Thanks,
i can use this in a lot of ways my awana car and for fun
me likey
everybody knows these steps! even boys that are my age know this! >:(
not everyone knows them I just learned the steps
I am a great grandma and helping my grandson…so my dear..not everyone knows these steps…Thank You.
i not like it
i ugree
282439