Make a Twig Picture frame
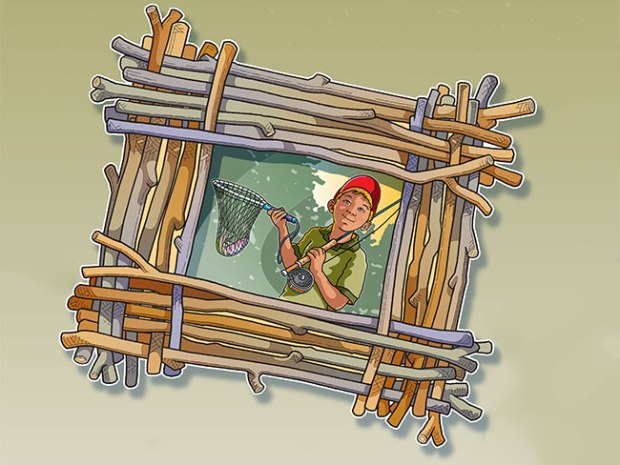
You can build this picture frame with common materials you have around the house or just re-use an old picture frame and cover it with twigs.
WHAT YOU’LL NEED
- 1 piece of scrap lumber (The frame shown is based on an 1”x 8”x 10” frame. You can change the size of the frame based on the size of your photo.)
- Enough straight twigs to completely cover the front of the frame
- 1 sheet of corrugated cardboard
- 1 piece of glass to fit inside frame
- 1 photo
- 1 piece of cardboard backing
- 2 beverage can pop tops
- 2 washers
- 2 1/2” wood screws
- Glass cutter
- Crosscut saw
- Ripsaw
- Coping saw
- Utility knife
- Steel ruler
- Pruner
- Wood glue
- Tape
- Fine-toothed wood rasp
- Sandpaper
- Picture-hanging wire
WHAT YOU’LL DO
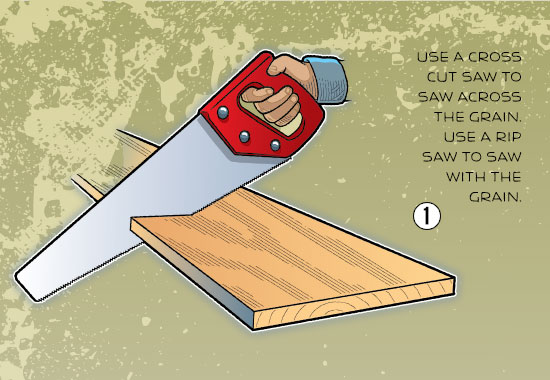
1. Saw a piece of scrap lumber to the size of your frame. Use a crosscut saw to saw across the grain and a ripsaw to saw with the grain.
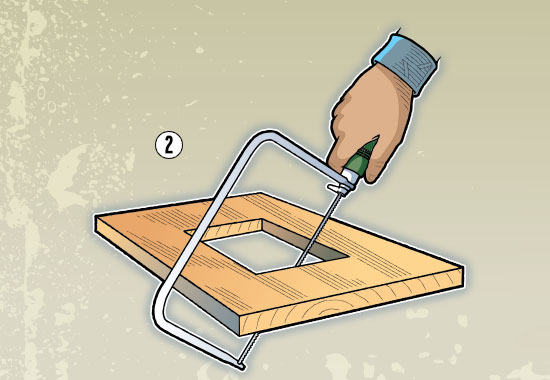
2. Drill holes inside each corner of the center to insert the coping saw blade. Cut out the center of your frame. Saw with slow, even strokes, making the cuts as straight as possible. Use the rasp and then the sandpaper to smooth the cutout. Sand all the surfaces of the frame.
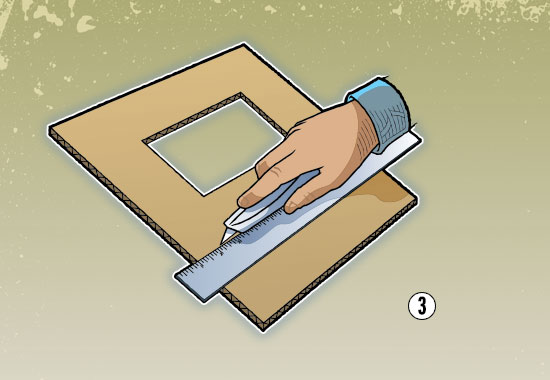
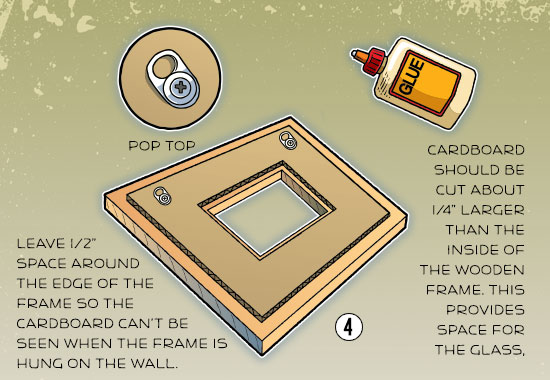
3. With a ruler and the utility knife, cut out the corrugated cardboard.
4. Glue the corrugated cardboard to the back of the frame. Attach the two pop tops with the washers and the 1/2” wood screws.
5. Using the pruners, cut the twigs to length and glue onto the face of the frame.
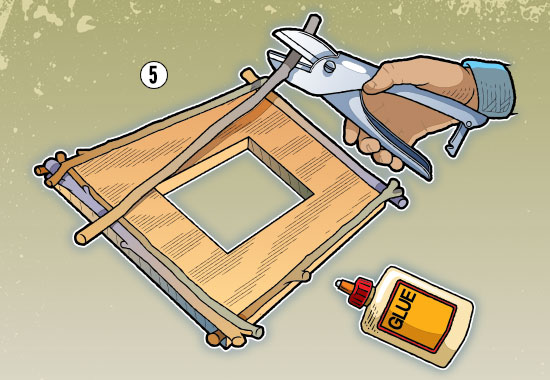
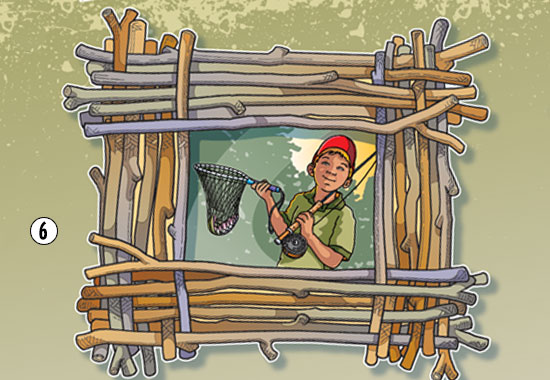
6. Carefully work your way around until you cover the entire surface of the frame. It’s okay if the frame shows through in some places.
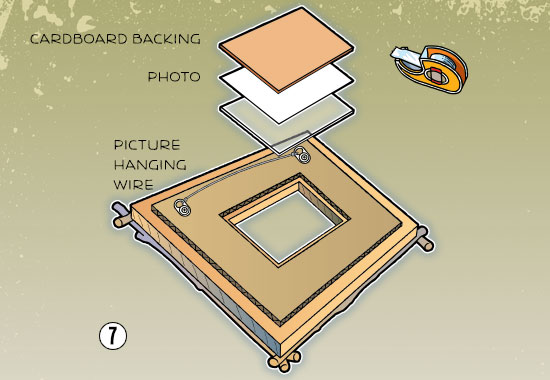
7. Use glass cutter to trim glass to size. Fit the glass, picture and cardboard backing into the center of the frame. Use the tape to hold it in place. Twist the wire between the pop tops. Hang on the wall.
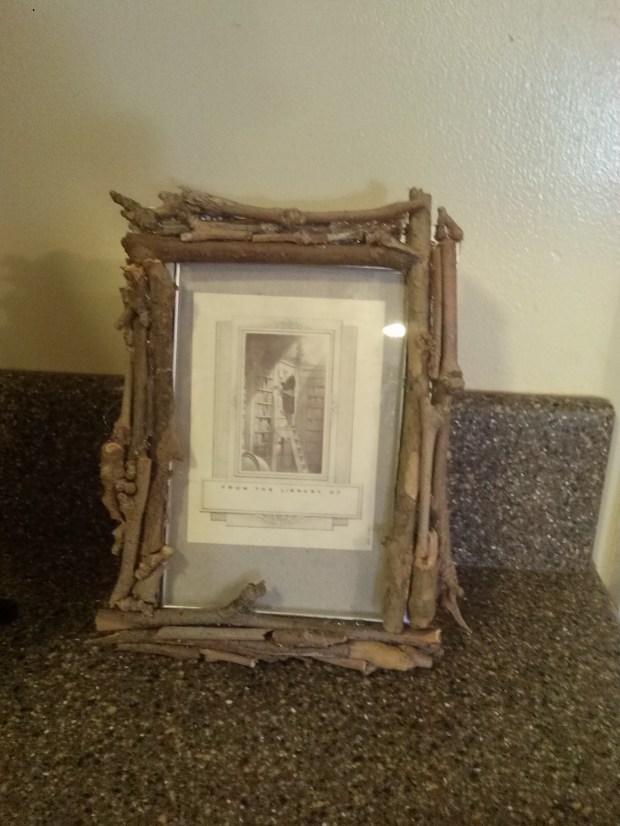
PHOTOS OF COMPLETED PROJECT
Check out these photos of the completed Twig Picture Frame project. If you have a photos of your project, please send them to us using the form below.
Awesome!
so cool but hard to mack
Cool!I want to make this right now!