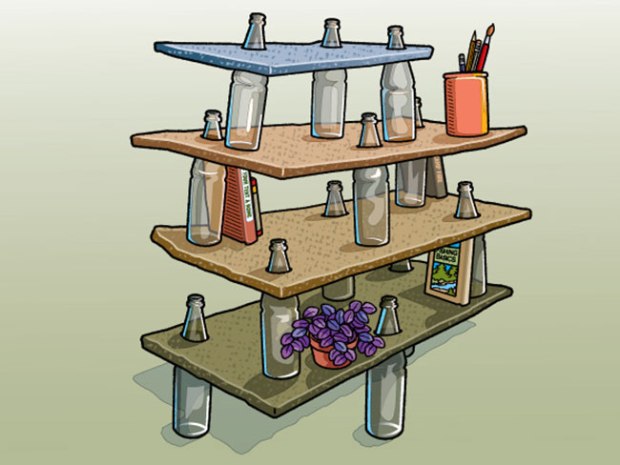
Make a pulp-and-bottle shelf
This project is a creative way to recycle materials and have an interesting and functional shelf.
WHAT YOU’LL NEED
- Lots of paper: Newspapers, junk mail, cardboard, magazines — almost any type of paper will work. Don’t use coated or shiny paper; it won’t break down into pulp.
- About 12 glass bottles
- Scrubbing pad for removing bottle labels
- Enough scrap wood to make a frame for the mold, about 18″ x 30″ inside dimensions
- Hammer and nails
- Sheet of plastic to set the mold frame on
- Kitchen gloves
- Big bucket for soaking and making the pulp
- Colored dye (optional)
- Pocketknife for cutting the holes in the shelves
- Bricks or other heavy flat weights
WHAT YOU’LL DO
 Step 1: Tear the paper into small pieces and soak in water overnight.
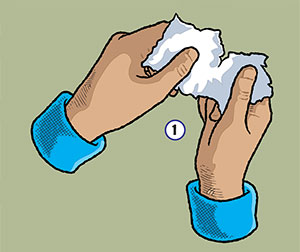
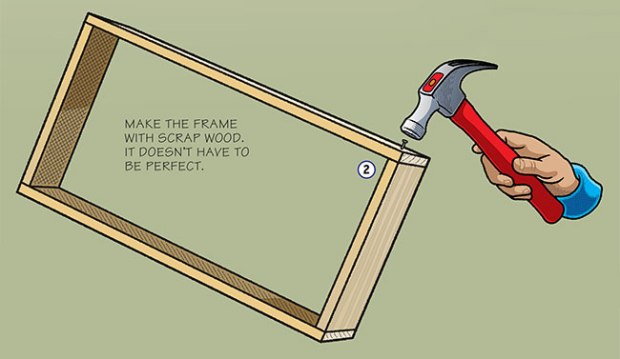
Step 2: Hammer the frame together and place it on the plastic sheet. Soak the bottles in hot water for about 15 minutes, then scrub the labels off.
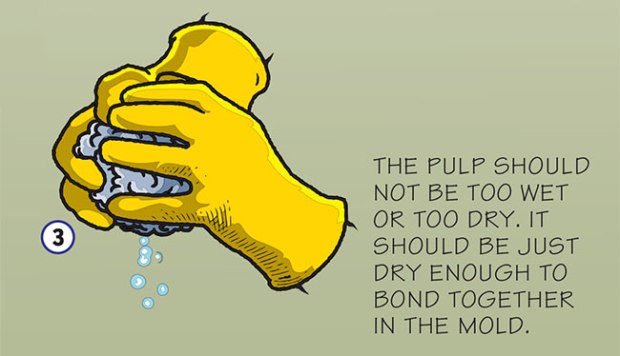
Step 3: Put on the kitchen gloves, shred the wet paper into smaller pieces and mush it into pulp. You can add the colored dye at this point. Take a handful of pulp and squeeze out some water. The pulp should be wet enough to bond together in the mold as one strong piece.
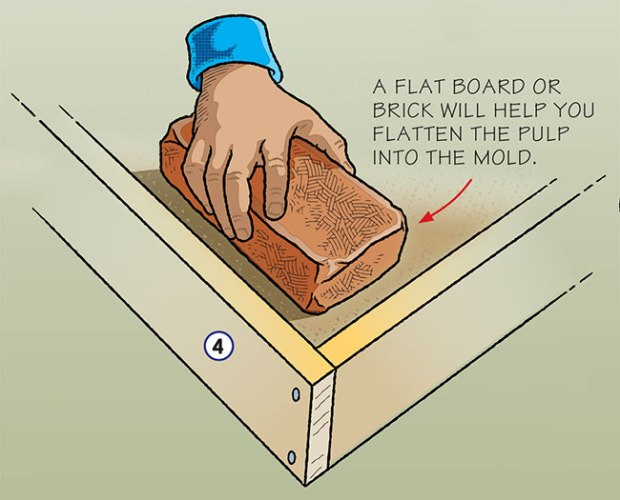
Step 4: Press the pulp into the mold. Make it about 1 1/2″ thick and as flat as possible. Use a piece of scrap wood or a brick to press and flatten the pulp into the mold.
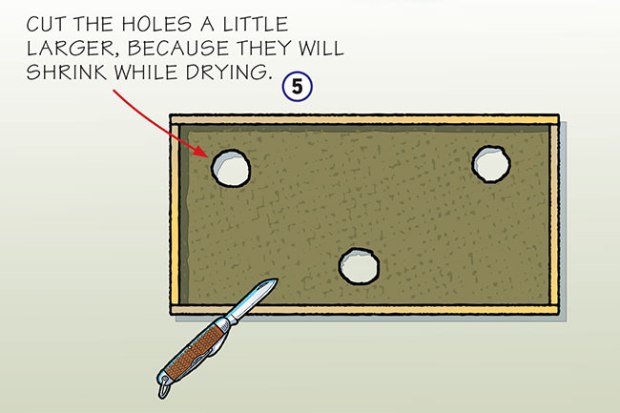
Step 5: Use the pocketknife to cut the holes for the bottles. Cut the holes in the pattern as shown. Don’t cut the holes too close to the edge. Make them a little larger than needed. They will shrink when the shelves dry. Carefully lift the frame off of the shelf while still wet.
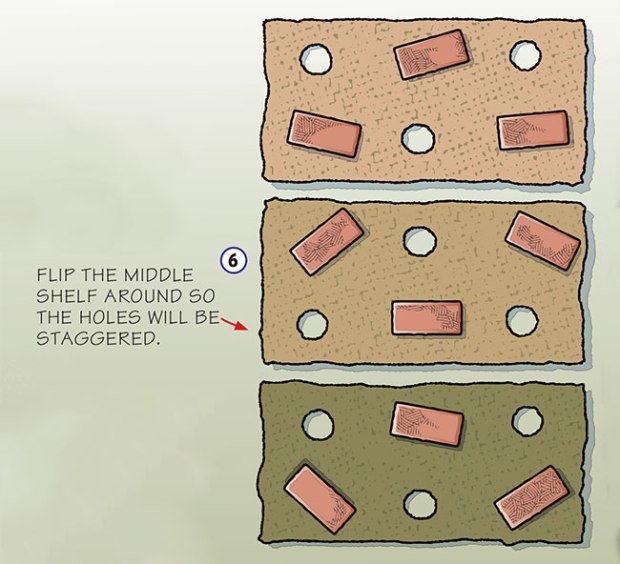
Step 6: Place bricks or other flat weights on top of the shelves while drying. This will keep the shelves from warping. Repeat this process three or four times. Cut the holes in the same places as you did on the first shelf. You can make a smaller fourth shelf for the top, if you want. Drying time can vary based on sun and temperature.
Step 7: Once dry, assemble the shelves using the bottles to hold the shelves together as shown. Your project is now complete.

Leave a Comment