How to Make Your Own Leather Moccasins
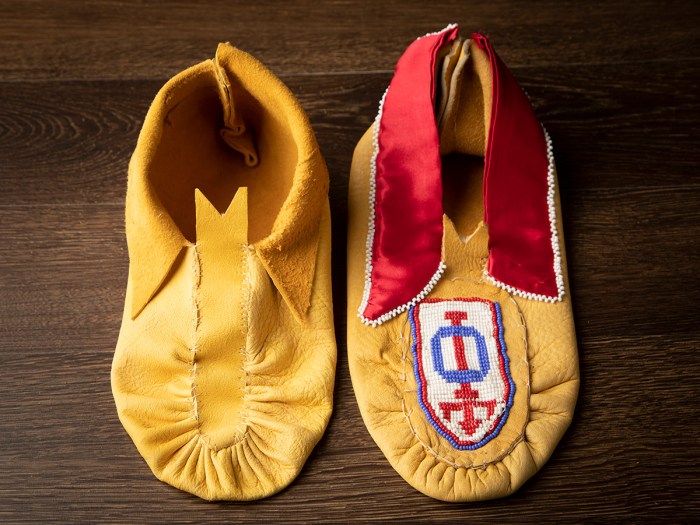
The Lenape, also known as the Delaware, are a Native American tribe originally from the eastern woodlands. Throughout their history, the pucker-toe moccasin has been a popular style. The footwear is comfortable and easy to make.
WHAT YOU NEED TO MAKE MOCCASINS
- Permanent pen or marker
- Large sheet of paper or four 8 ½-by-11-inch sheets taped together
- Ruler
- Rubber mallet
- Scrap wood
- Flexible tape measure (or string that can be measured with a ruler)
- Scissors
MATERIALS TO SEW MOCCASINS
- Deer-hide leather (Available online at stores such as eBay and Tandy Leather. You can also buy a Moccasin Leather Craft Kit at scoutshop.org. Only lacing is required.)
- Leather needles
- Extra strong upholstery thread
- Needle-nose pliers
WHAT YOU’LL DO TO MAKE MOCCASINS
STEP 1. Trace your foot on a large sheet of paper following the steps on the template. (The same template is used for both moccasins.) Your template should match the example after you finish. (See diagram below)
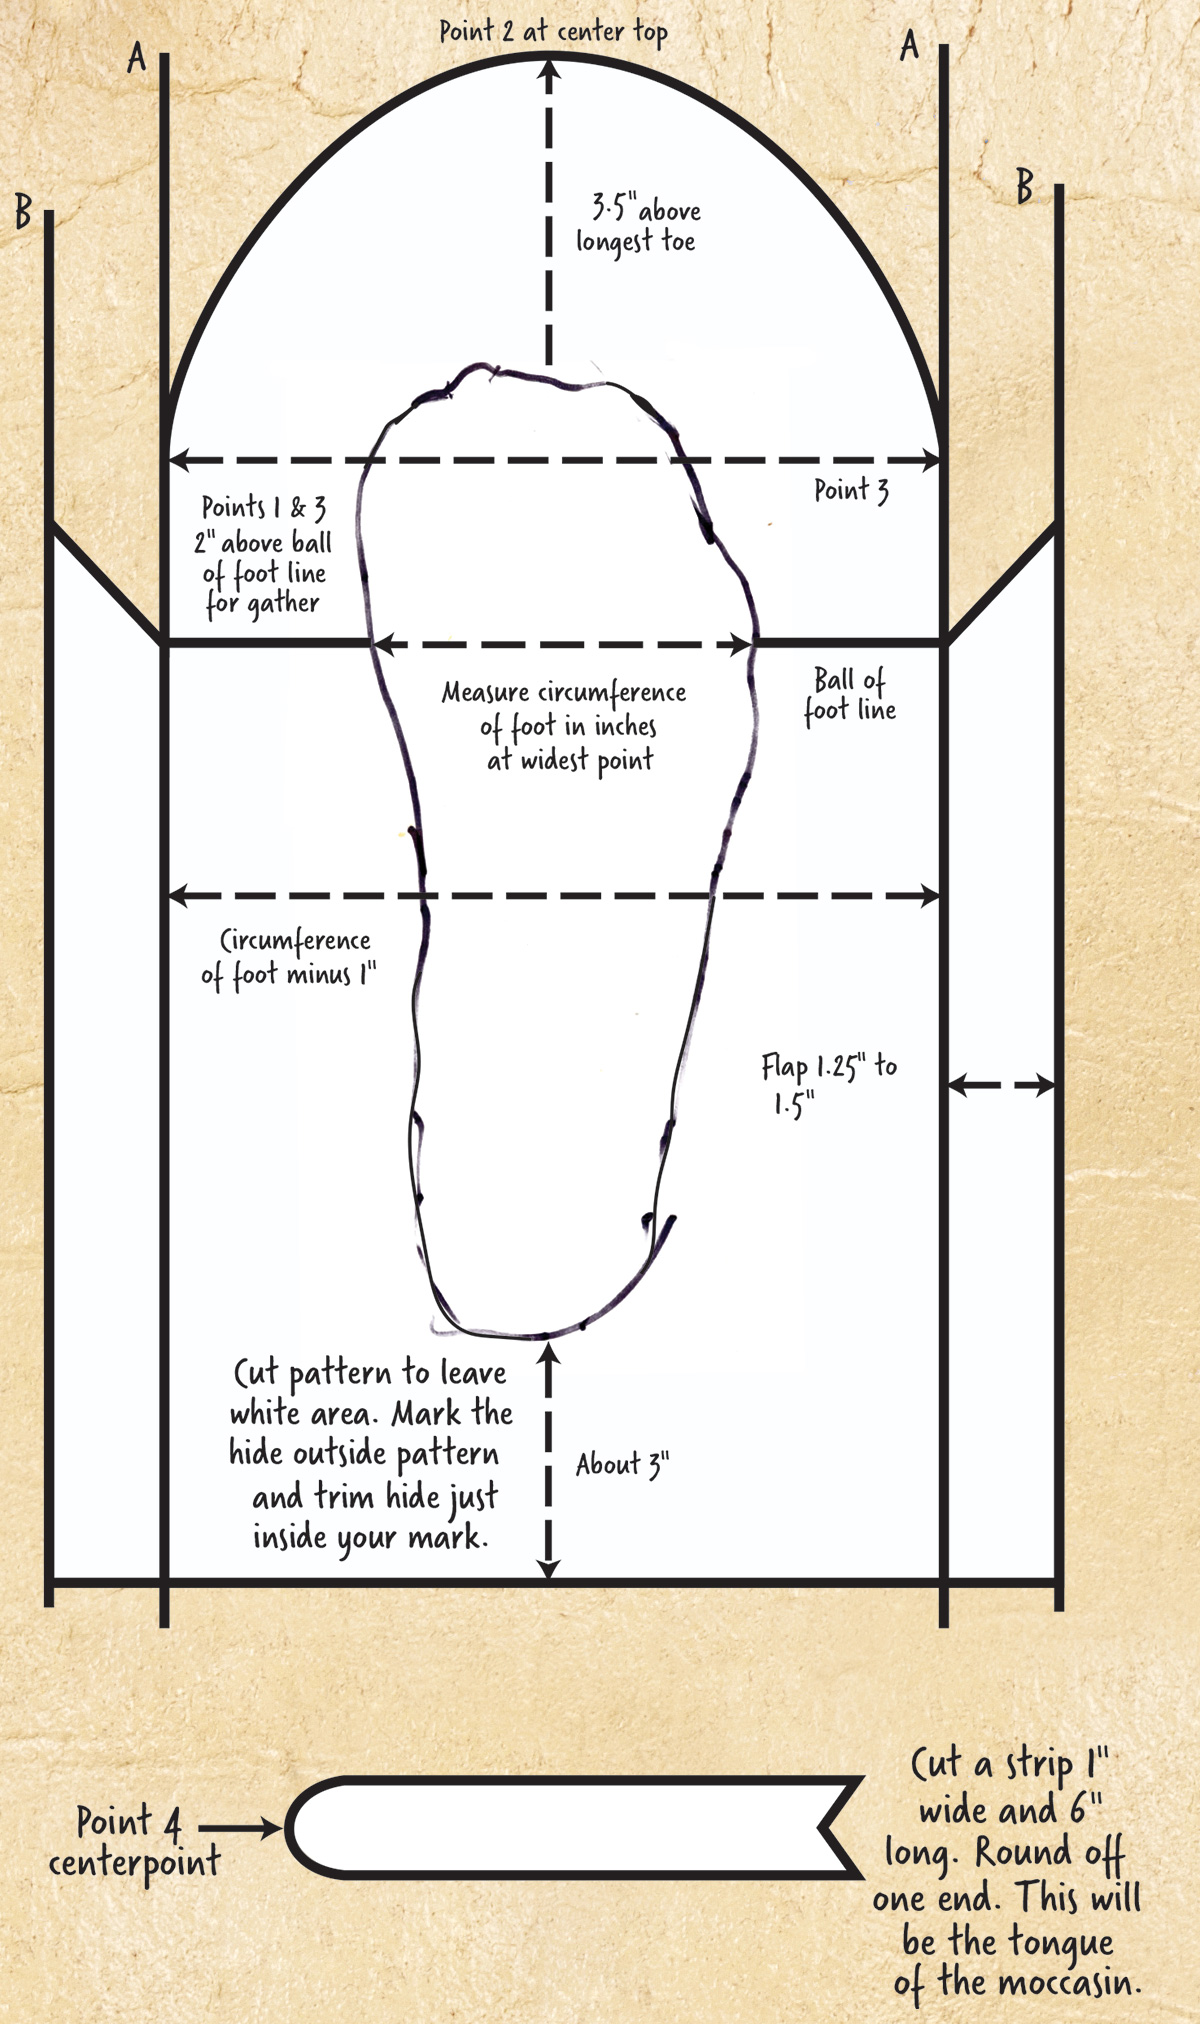
Template Instructions:
- Make two parallel lines (A) apart by the circumference of your foot minus one inch. These lines should extend well beyond your toe and heal by three or four inches. The outline of your foot should be roughly centered between the lines.
- Make two more lines (B) 1.25 to 2 inches outside and parallel to the lines you just made. These will be the downturned flaps on the sides of the moccasins.
- At the ball of your foot outline, draw a straight line at right angles to the other lines you have drawn (Ball of foot line).
- On each side, draw a line at 90 degrees from the intersection of the ball of foot line at A and B. This marks the front of the flap.
- From the ball of foot line place a mark about 2 inches up toward the toe on both A lines. These are points 1 and 3.
- Place a mark (point 2) 3.5 inches above the longest toe and centered between the A lines.
- From both sides, draw a curved line between points 1, the center mark point 2and point 3. This forms a rounded dome over the toes.
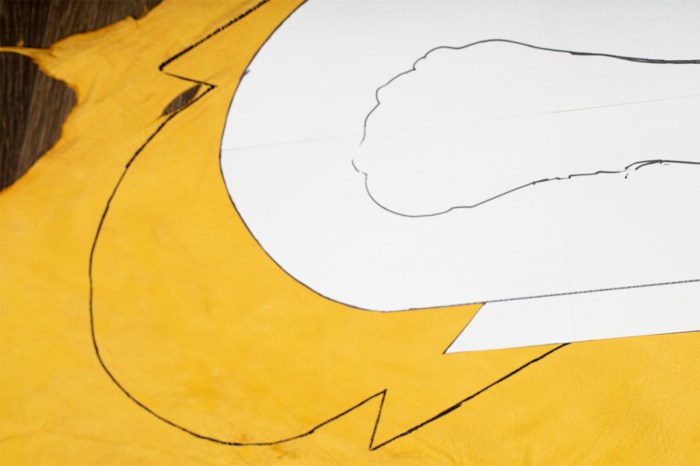
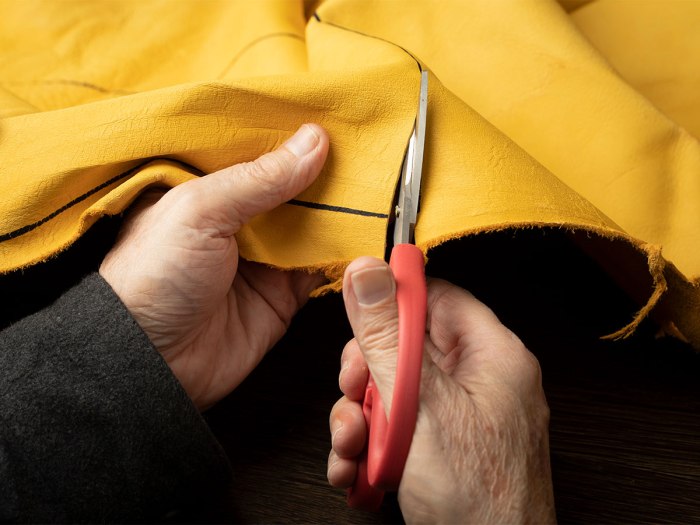
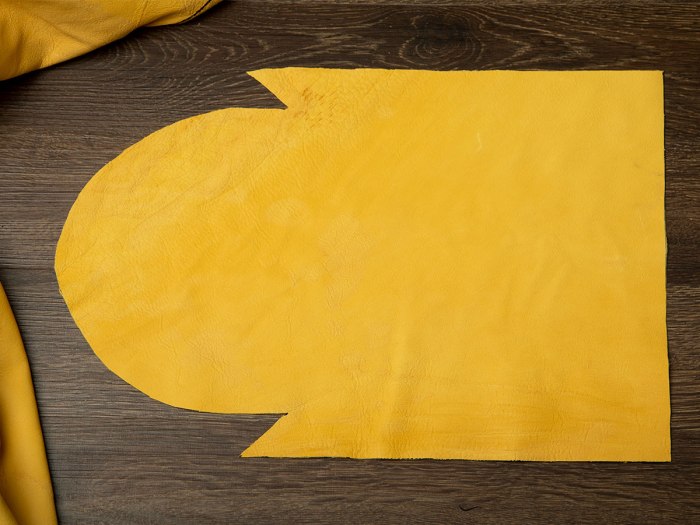
STEP 2. Cut out your template and place it on the deer hide. Avoid any holes or thin spots in the hide.
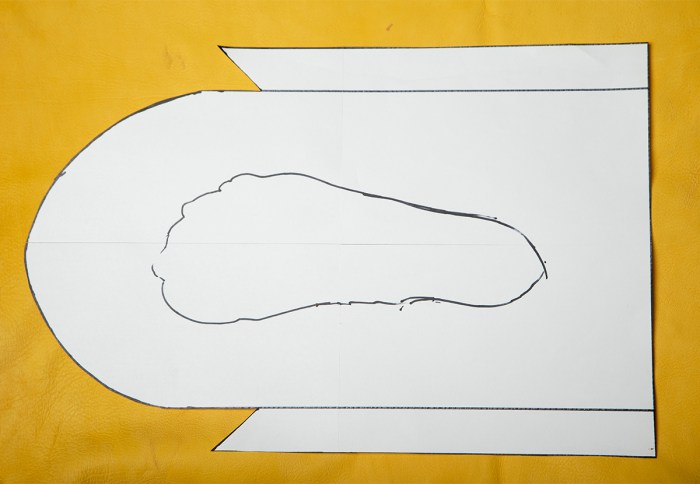
Trace the outside of your template onto the hide and cut just inside your marked lines. Mark a dot on the inside (rough) side of the hide at all three points.
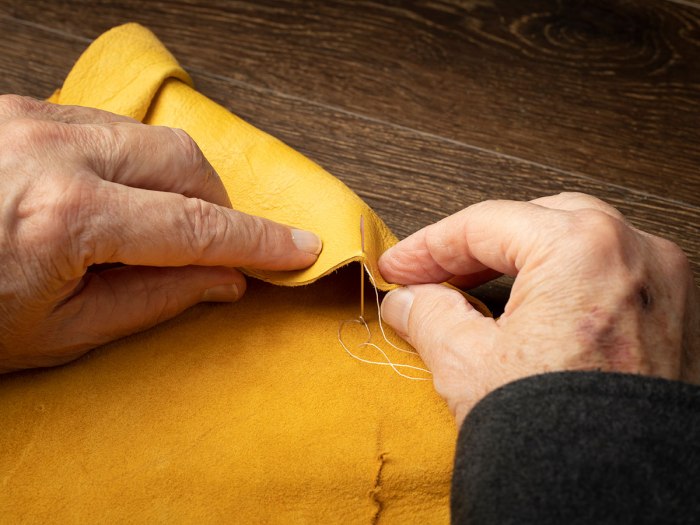
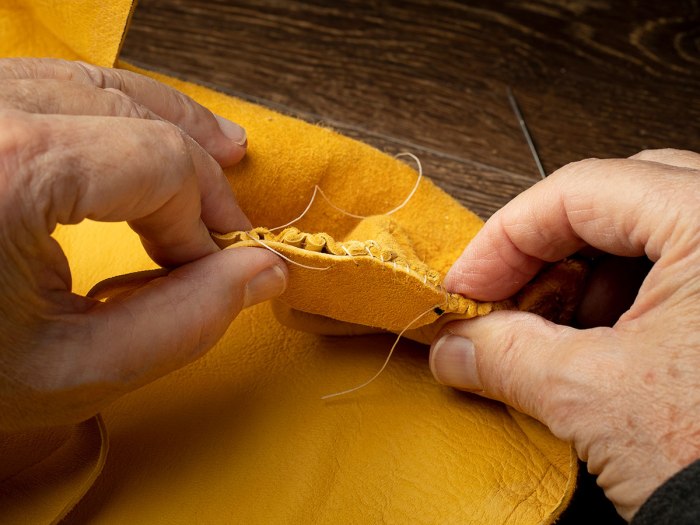
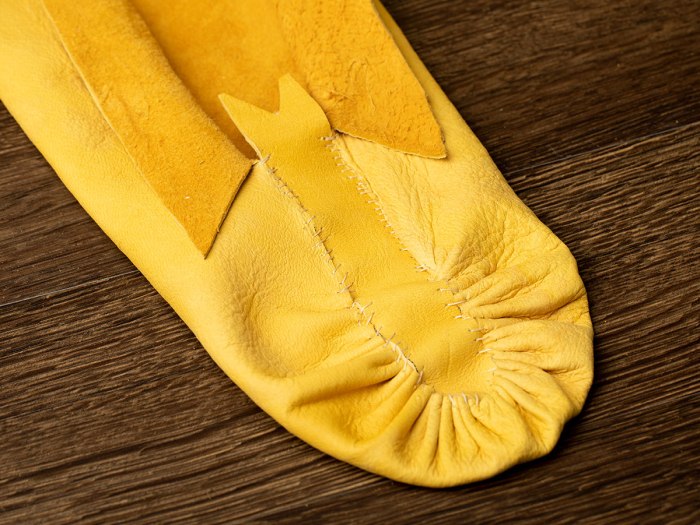
STEP 3. Start a gather stitch at either Point 1 or 3 and work to the other point.

Loop through the hide and tie a square knot to anchor the gather at point 1 or 3. Use the pliers to weave the needle from inside to outside about 1⁄4″ apart and about 1⁄8″ from the edge. When the thread is pulled tight, the hide gathers in hills and valleys. Continue weaving until you get to the other point.
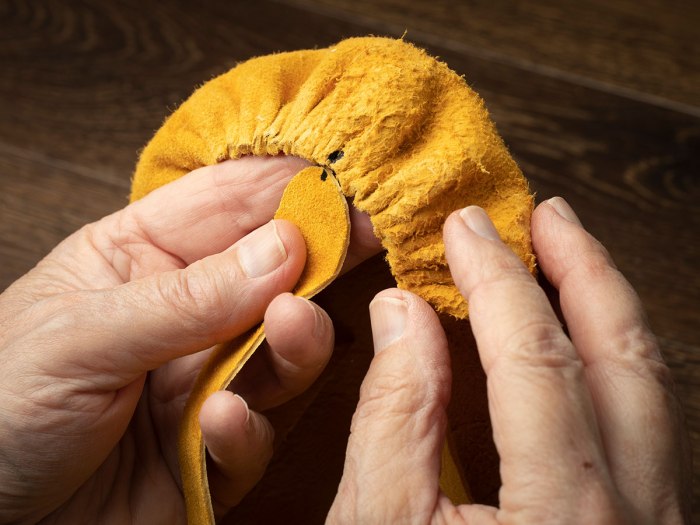
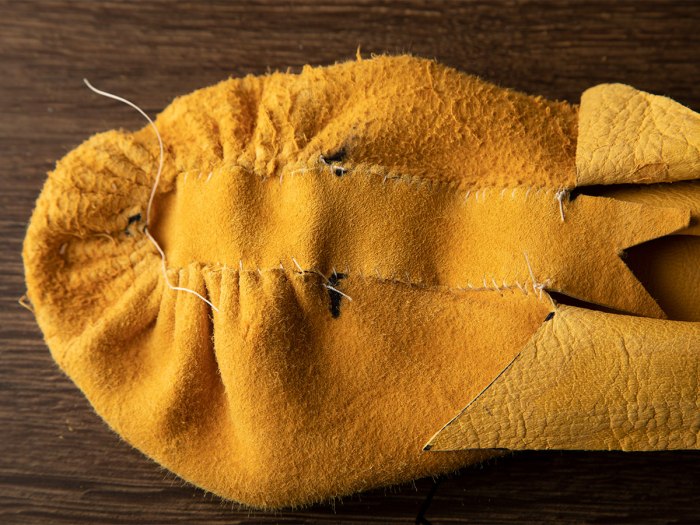
STEP 4. When you reach the gather finish point, draw up the thread to pucker the toe and tie it off by looping the thread through a previous stitch using several half hitches. (Caution: Keep the needle perpendicular to the hide, and be aware of where your fingers are as you use a hard surface to help you push the needle through).

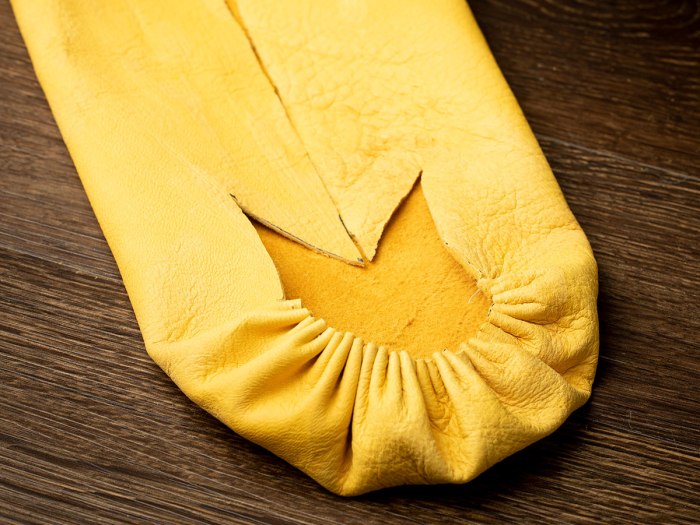
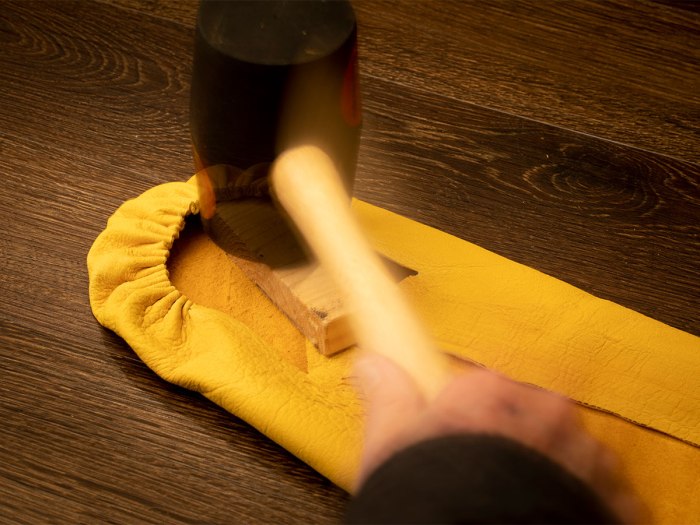
STEP 5. Place a piece of wood under the finished gather and pound flat. Cut a 1″ wide tongue, round off one end and place a mark in the center of the rough side.
STEP 6. With the moccasin and tongue rough side out, match the center of the tongue and the center of the toe, and begin a stitch at point 2, and sew to either point 1 or 3. Keep the edges even. Pass the needle through and over in a simple overhand stitch. When you reach the flap, mark the tongue opposite where the flap begins and where the gather stitch stopped. Use these as guides as you stitch the other side of the tongue.
STEP 7. Turn the moccasin good side out and put your foot in the toe tightly. Holding the top edges with a clothespin, pinch the hide at the heel and mark it.
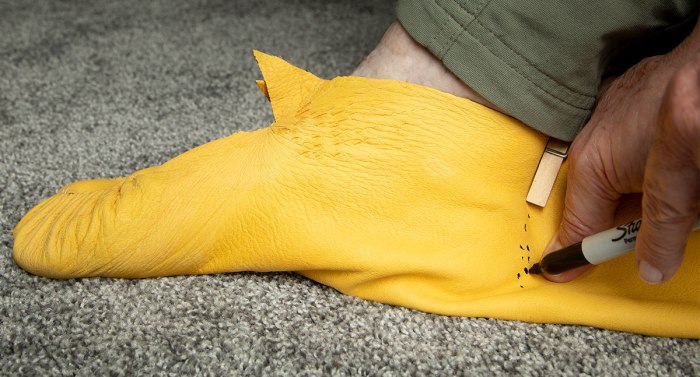
STEP 8. Turn the moccasin back to rough side out. Starting from the top, place a mark going down at a depth of the flap (the distance between A and B lines). Stitch a line just inside the marks you made for the heel. Stop at the flap, mark it and tie it.
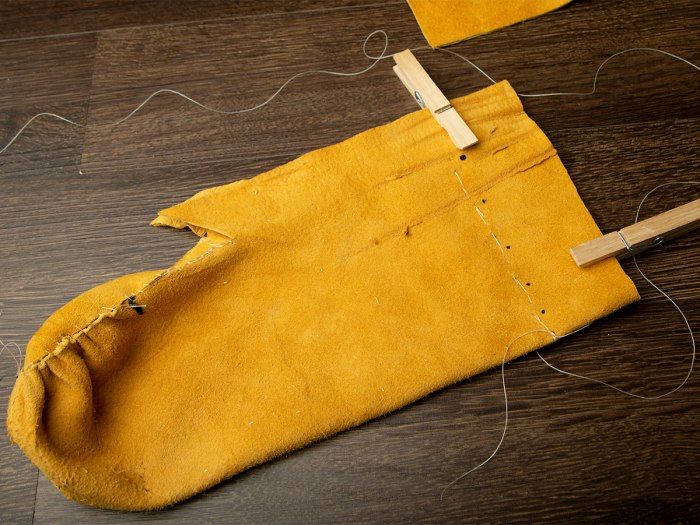
STEP 9. Try on the moccasin, inserting toes tightly. If needed, use a finger to pull the moccasin over your heel. If it’s too loose or tight, remove the stitching and try again. Once the heel fits, continue stitching the heel line until complete.
STEP 10. You can decorate your moccasins with beads and satin, which the Lenape people used.
So cool looks and comfortable to use around the house